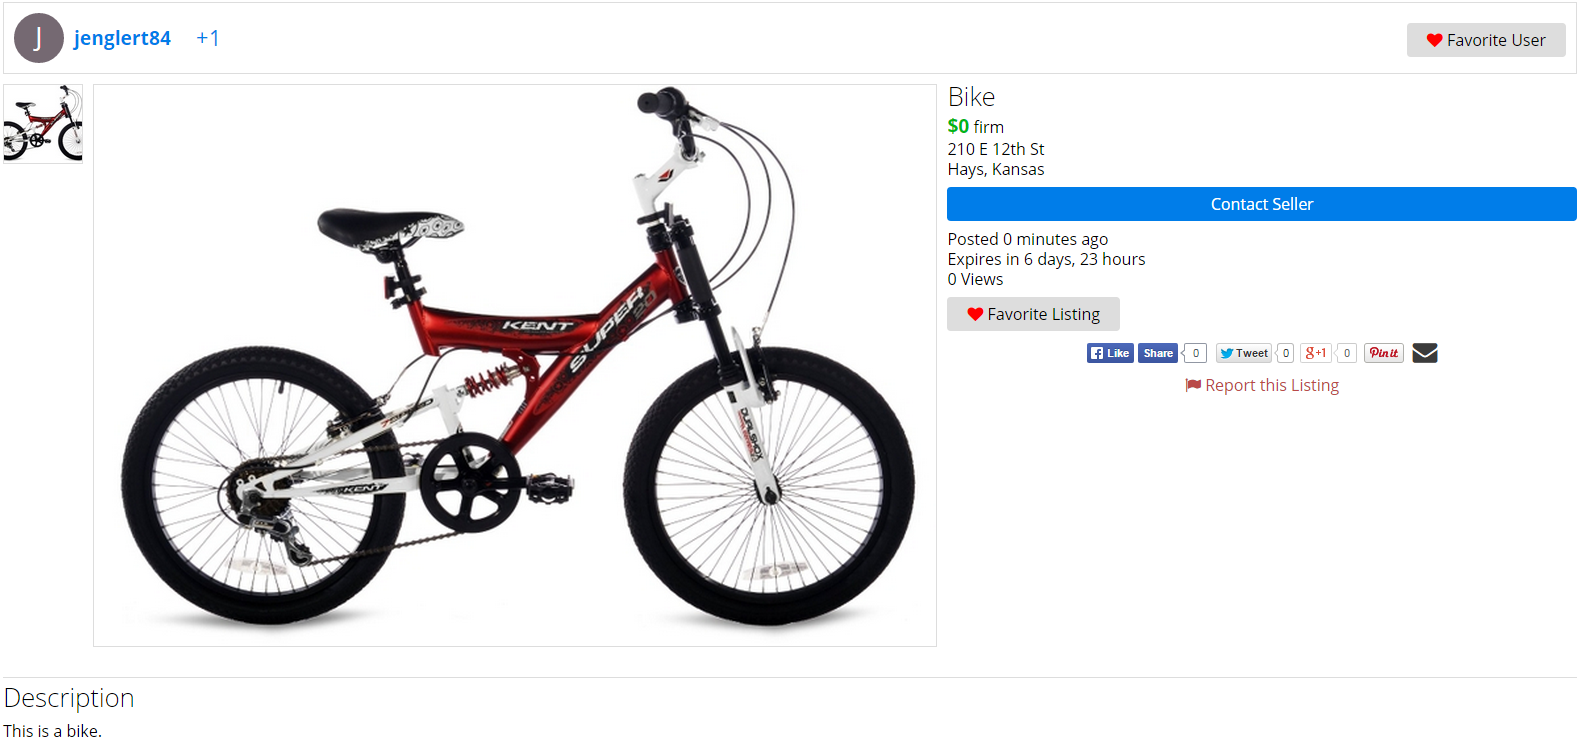
Create a Listing
-
You must be logged in to your account in order to post a listing. You can log in to your account by pressing Login button at the top right corner.

-
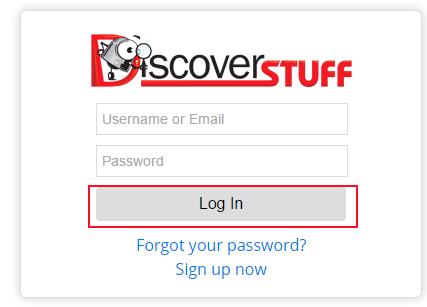
Next you will have to enter your Username and Password and press Log In.
-
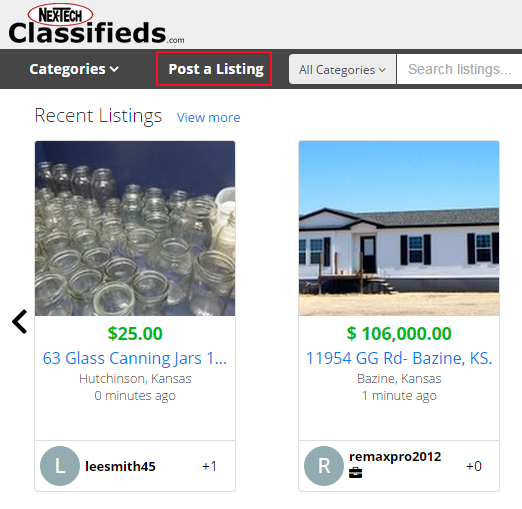
Once you are logged in, simply click Post a Listing to begin creating your listing.
-
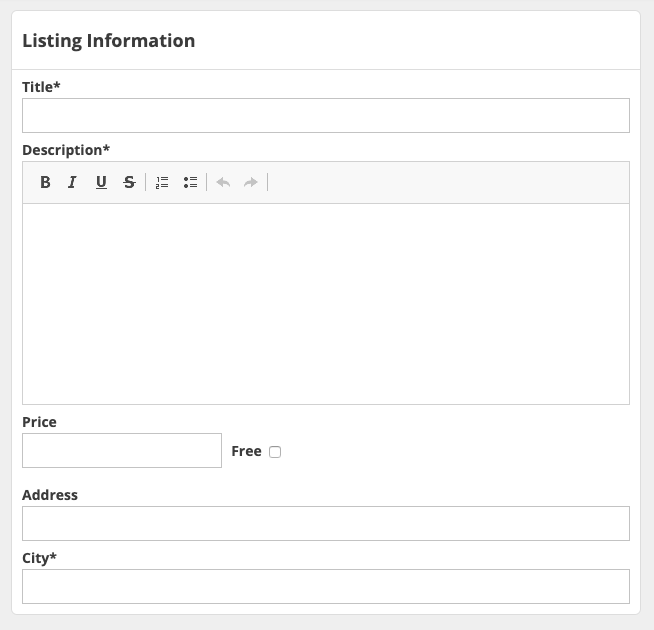
Now you will see the basic layout for creating or editing a Listing.
-
Title is where you will name your listing. It is generally a short, few words description of the listing.

-
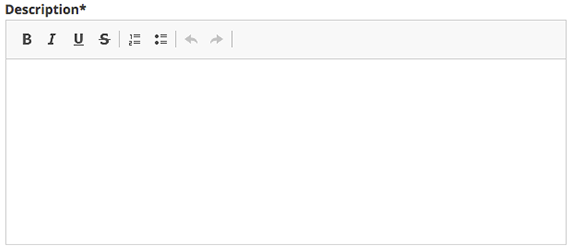
Description is where you will give a detailed description of the listing.
-
Price is the amount you want to sell your item for. If it is free, you can select the free checkbox.

-
Address/City
Shows the location the listing is listed for. Leave the address blank if you do not want to show your location. The city field is required. -

-
-
The Categories field is where you will choose which category(ies) your listing will be posted in. A listing is allowed to be posted in up to 2 categories. To add an additional category, click inside the box and the categories will appear again.

-
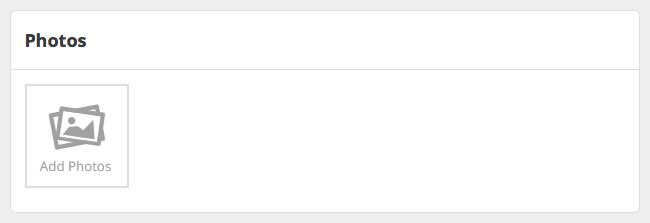
To add photos, click on the Add Photos button.
-
This will bring up a file explorer screen where you will navigate to where your pictures are stored on your device.
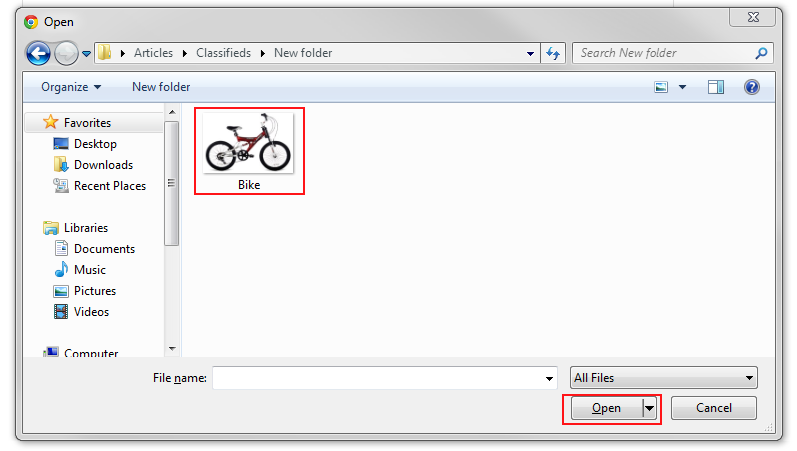
If you want to add more than one picture repeat this process. You can have a maximum of 6 pictures on your listing.
-
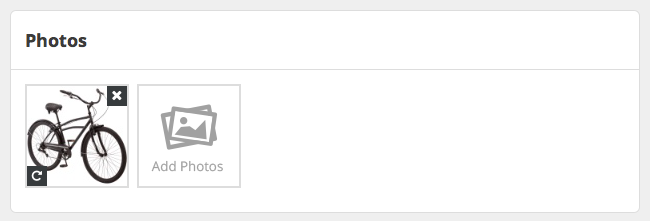
Once you have completed uploading your picture or pictures you will see a screen that will look like the one below. You can drag and drop the photos in the order that you would like them to appear. The first photo will be selected as the primary photo that will be displayed on the search and category pages. You can rotate the photo by clicking on the rotate icon in the bottom left of the photo. You can also remove the photo by clicking on the delete icon on the top right of the photo.
-
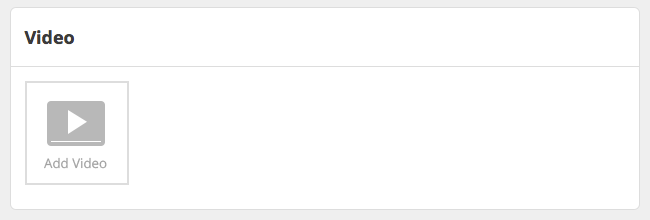
The Video section works just like the photos section. We allow one video to be added to your listing.
-
If you would like to share your new listing on your Facebook or Twitter accounts, you can click on "Connect to Facebook" or "Connect with Twitter" and make sure the checkbox that appears is selected. This will post your listing so that your friends and followers can see it as soon as you click on finish.

-
Once you select Finish, your listing is created.
